Automation Testing with CI/CD - Playwright Automation Tests with Azure DevOps Pipeline
Integrate Playwright Automation Tests with Azure DevOps Pipeline
In this blogpost, We will integrate playwright automation tests with Azure DevOps pipeline.

First of all sign up with Azure Devops to create an account. Login to https://dev.azure.com/
Create an organisation first. I have created an organisation with name “jaykishore999”. You can create with your own name.
If you have a GitHub account already then you can login using your GitHub account as well.
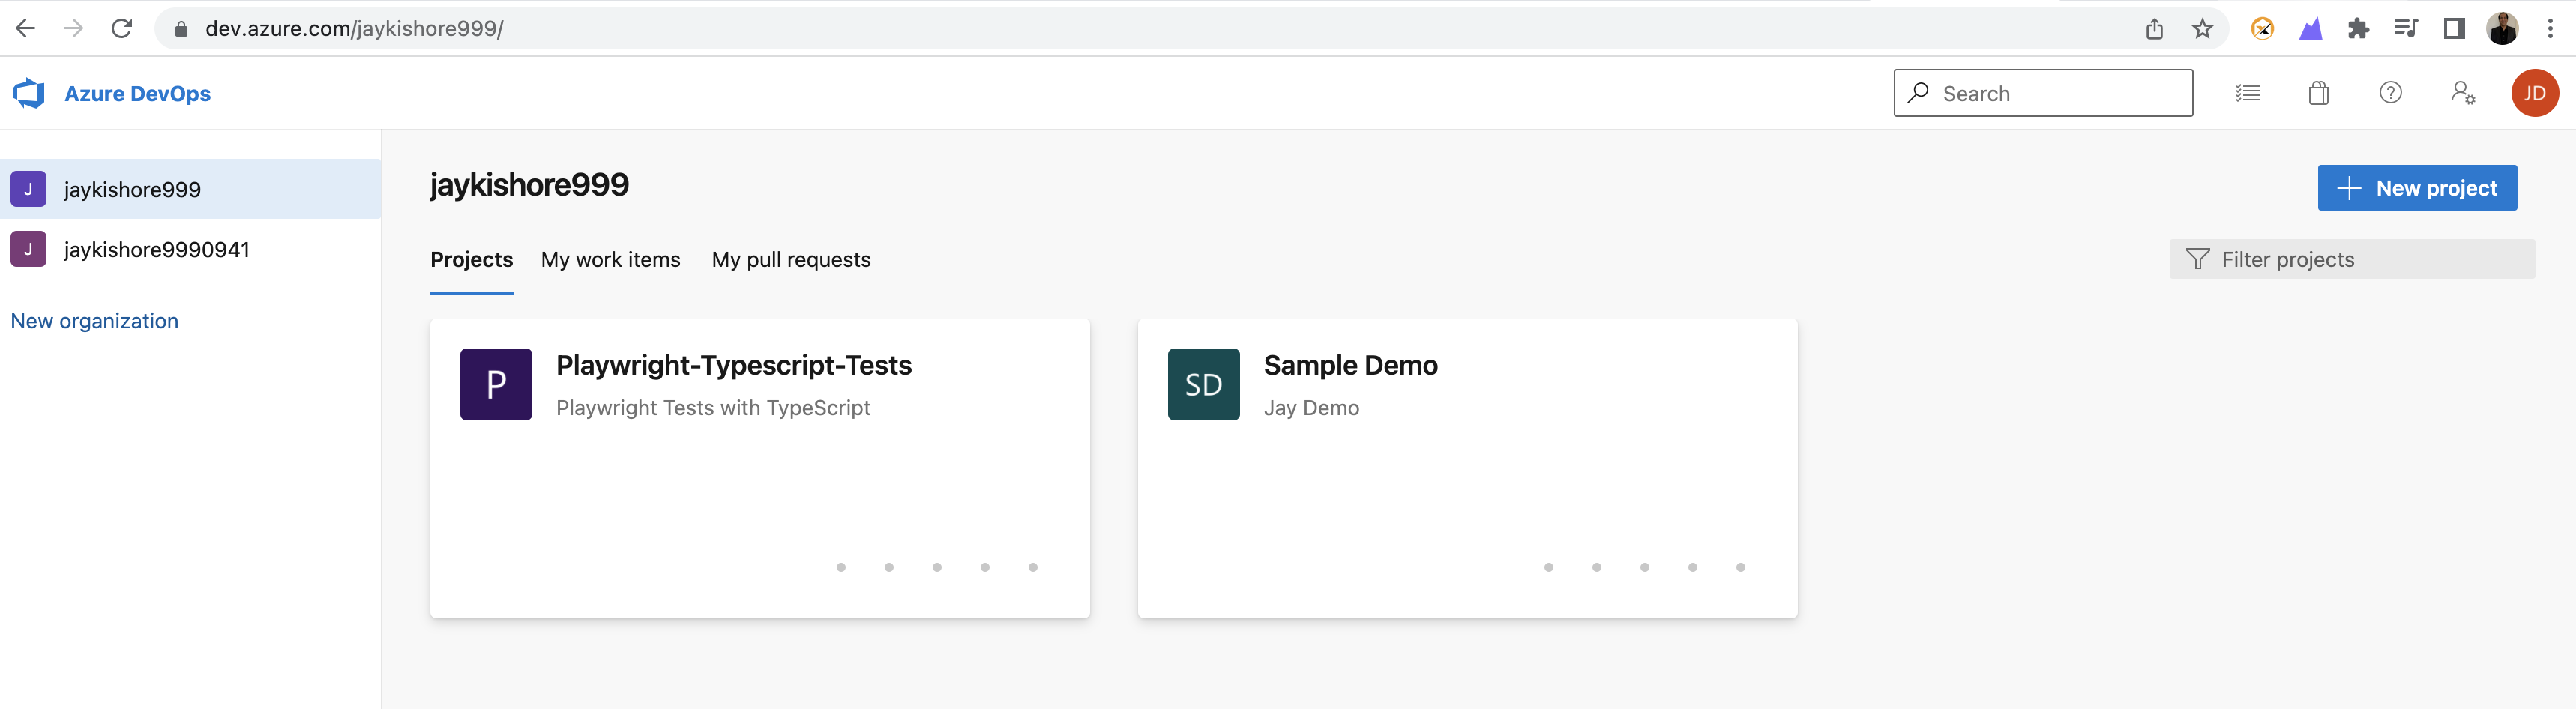
Click on "+ New project"

Click on "Create" button

Hover on to the "Pipelines" on the left side nav bar and click on the option "Releases"

Click on "New Pipeline" button


Click on the "Empty job"

Click on "Add an artifact" on the left panel

Click on "GitHub" and click on "+ New" button to authenticate with GitHub


Click on "Authorize using GitHub" and select a repository you want to execute tests from the GitHub


Click on the "task" under Stage 1


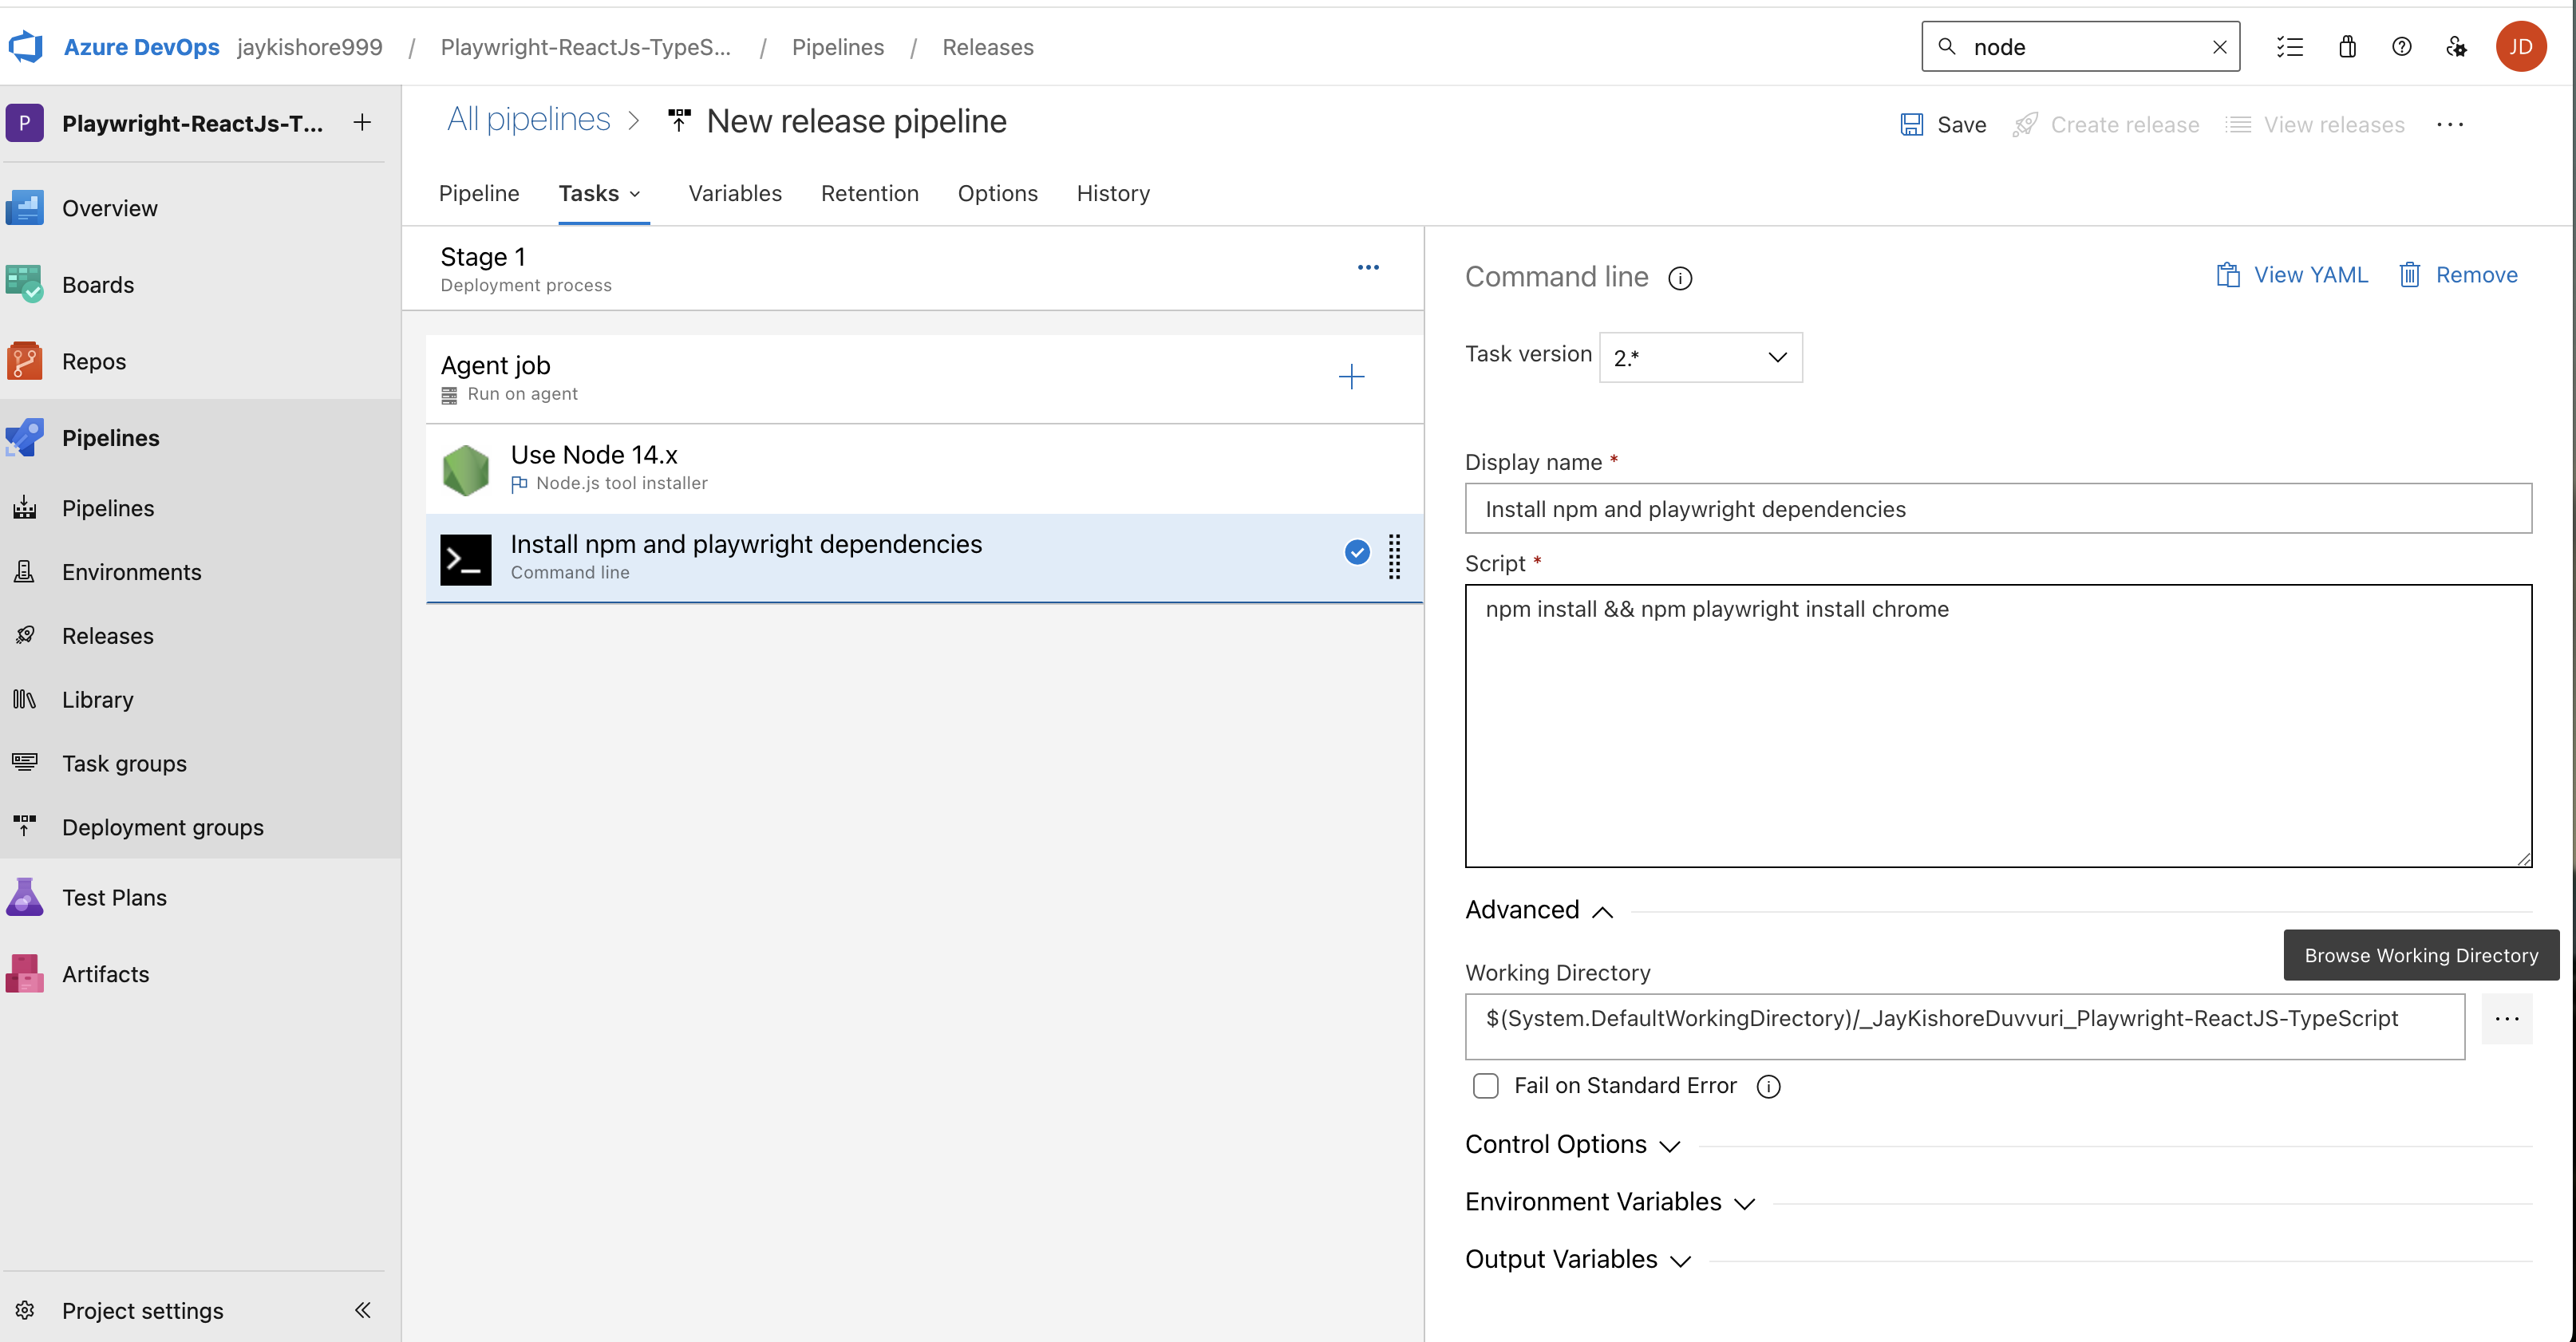
Type 'node' in the search bar

Click on the "Add" button

Change from node 6.x to 14.x

Now again click the '+' button to add another task "Command line". Type "command line" in the search bar and add the task


- Rename the Display name to "Install npm and playwright dependencies"
- In the Script text box add the command "npm install && npx playwright install"
- In the Working Directory click the "..." button to select the directory where your package.json is located and click on "OK" button

Click on the '+' button next to Agent job label to add another task as npm task


Click on the button as shown below


In the Display name give your desired name, I gave as "Playwright UI Tests". In the command dropdown Select option as "Custom".
Now, in the "Command and arguments" text box add the command as "run test:chrome" from my package.json

Click on "Save" button at the top like shown below

Click on "OK" button

Click on "Create release" button

Click on "Create" button


Click on the link "Release-1" from the above image shown

Click on "Logs" as shown below


Click on "Playwright UI tests" from the job as shown below

You will see the status message for your tests passed or failed!


Publish Test Report
Click on Tasks dropdown and select stage1 as shown below

To publish your test results, add one more task by clicking the '+' icon next to the Agent job label and type "publish test results" in the search bar as shown below
and click on the "Add" button to add the task to your job.

Add the text in required fields as shown below

"Save" it and hit on "Create release"

Click on "Create" Button

Click on "Release-6" here


Click on the tab "Tests" here as shown below


Happy Automation Testing Guys :) !


Comments
Post a Comment